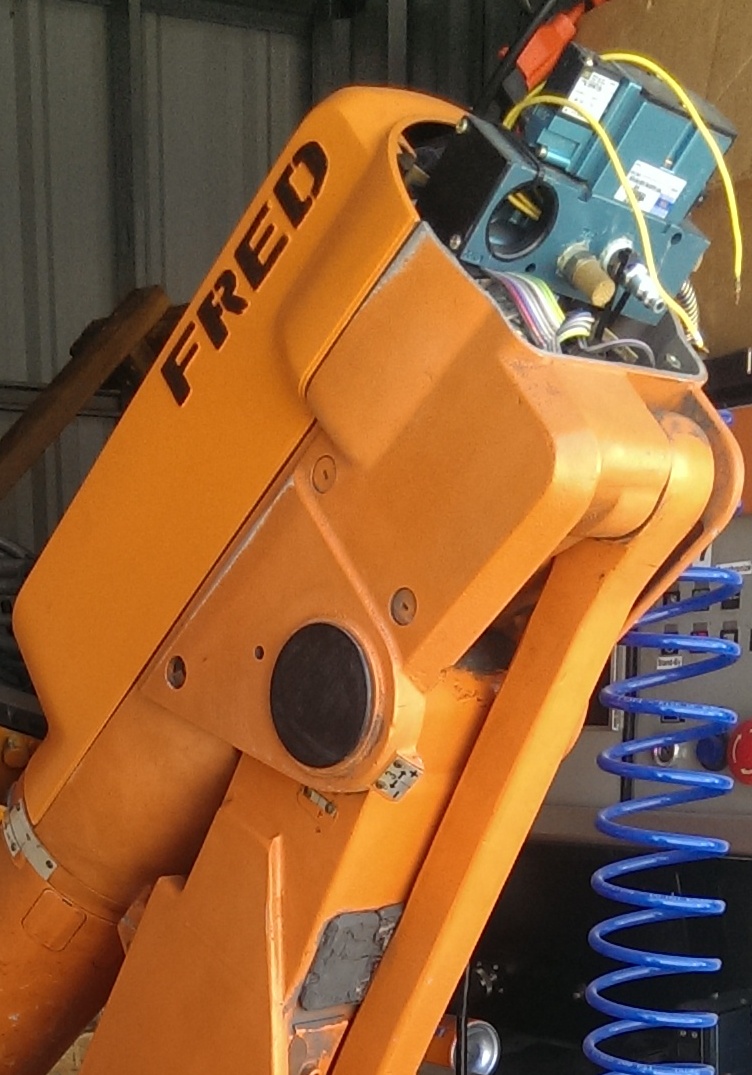
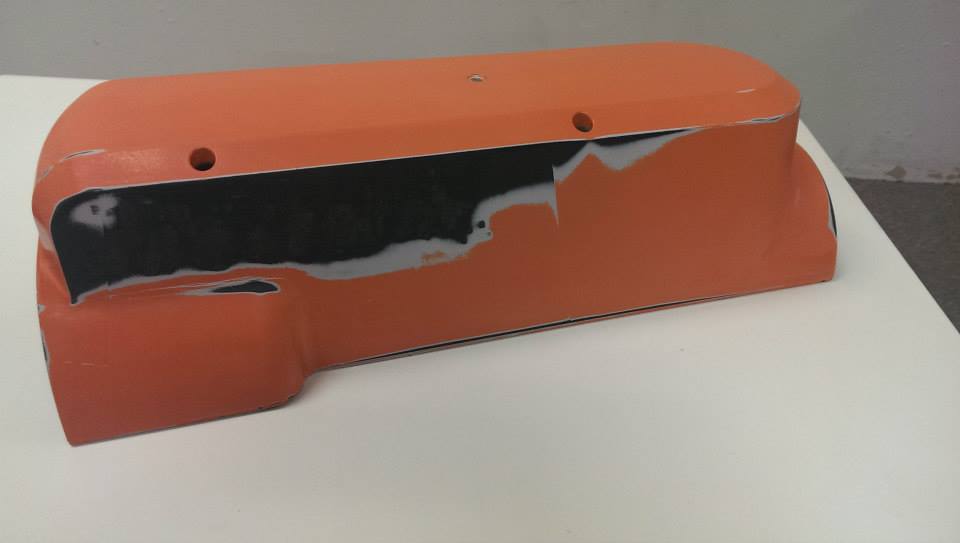
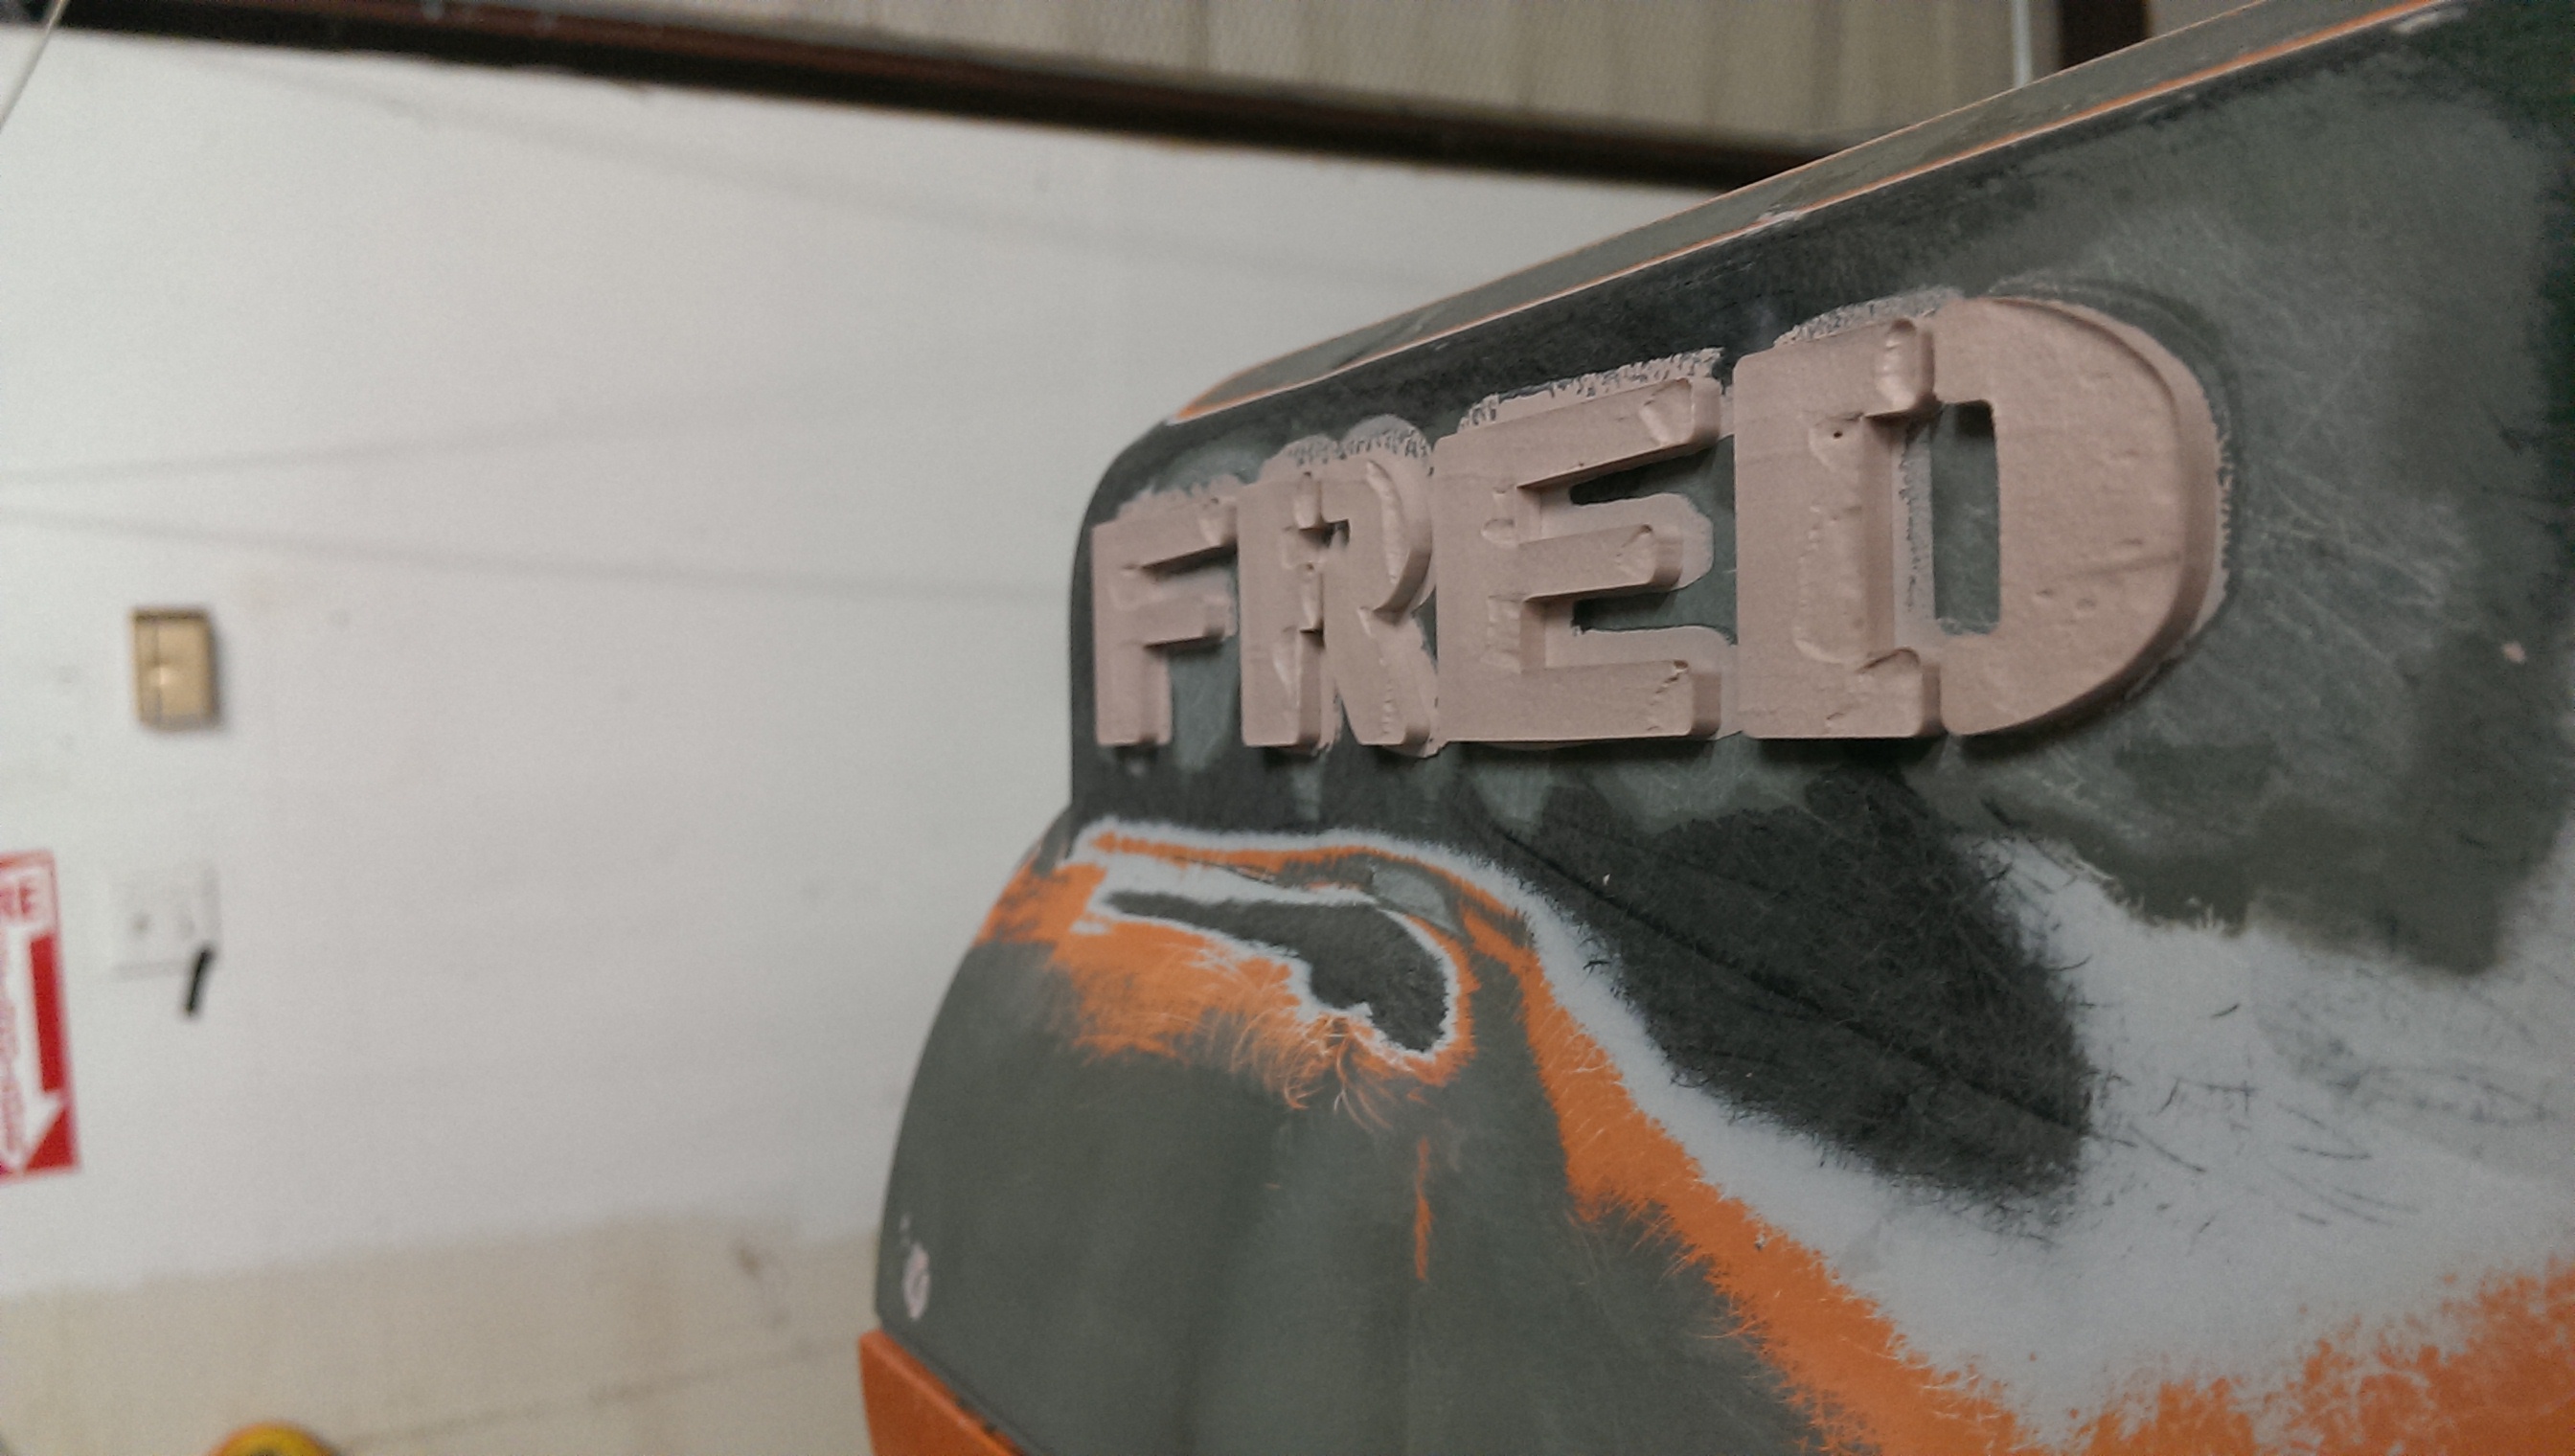
I decided FRED needed to stop sporting his old ASEA logo! Bring on the Bondo.
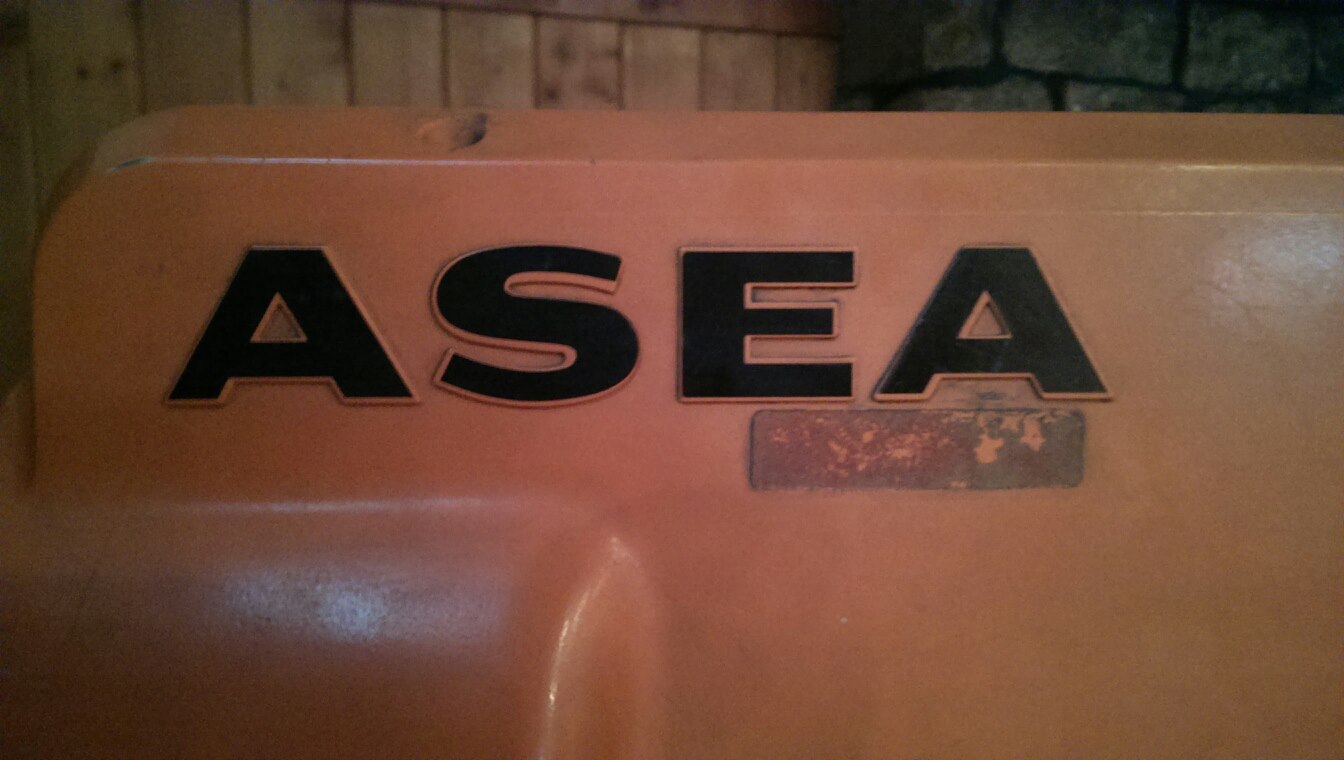
This was how the project started, the raised ASEA (the A in ABB) logo.
Time to start grinding:
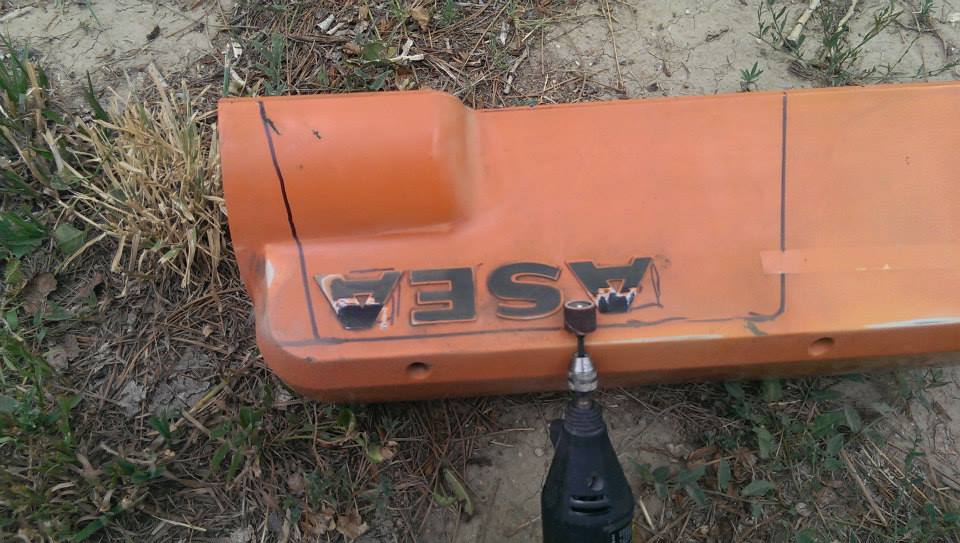
Lots and lots of sanding
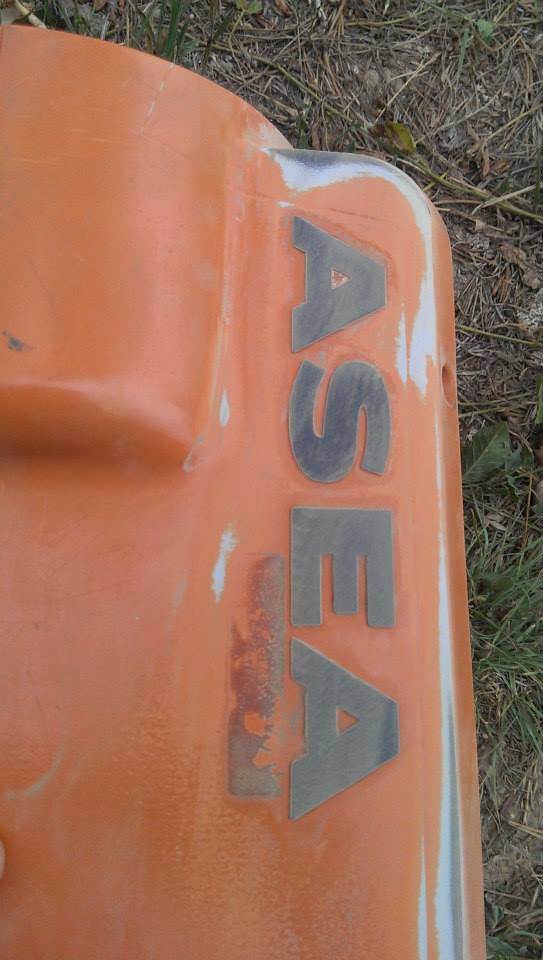
On both sides until
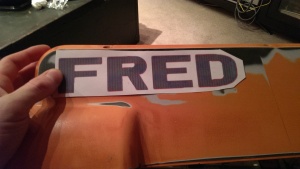
I did my best to find the font, even asking reddit.com/r/identifythisfont but no luck. Everyone thought it was a custom font. My friend who happened to love fonts used the original letters to generate:
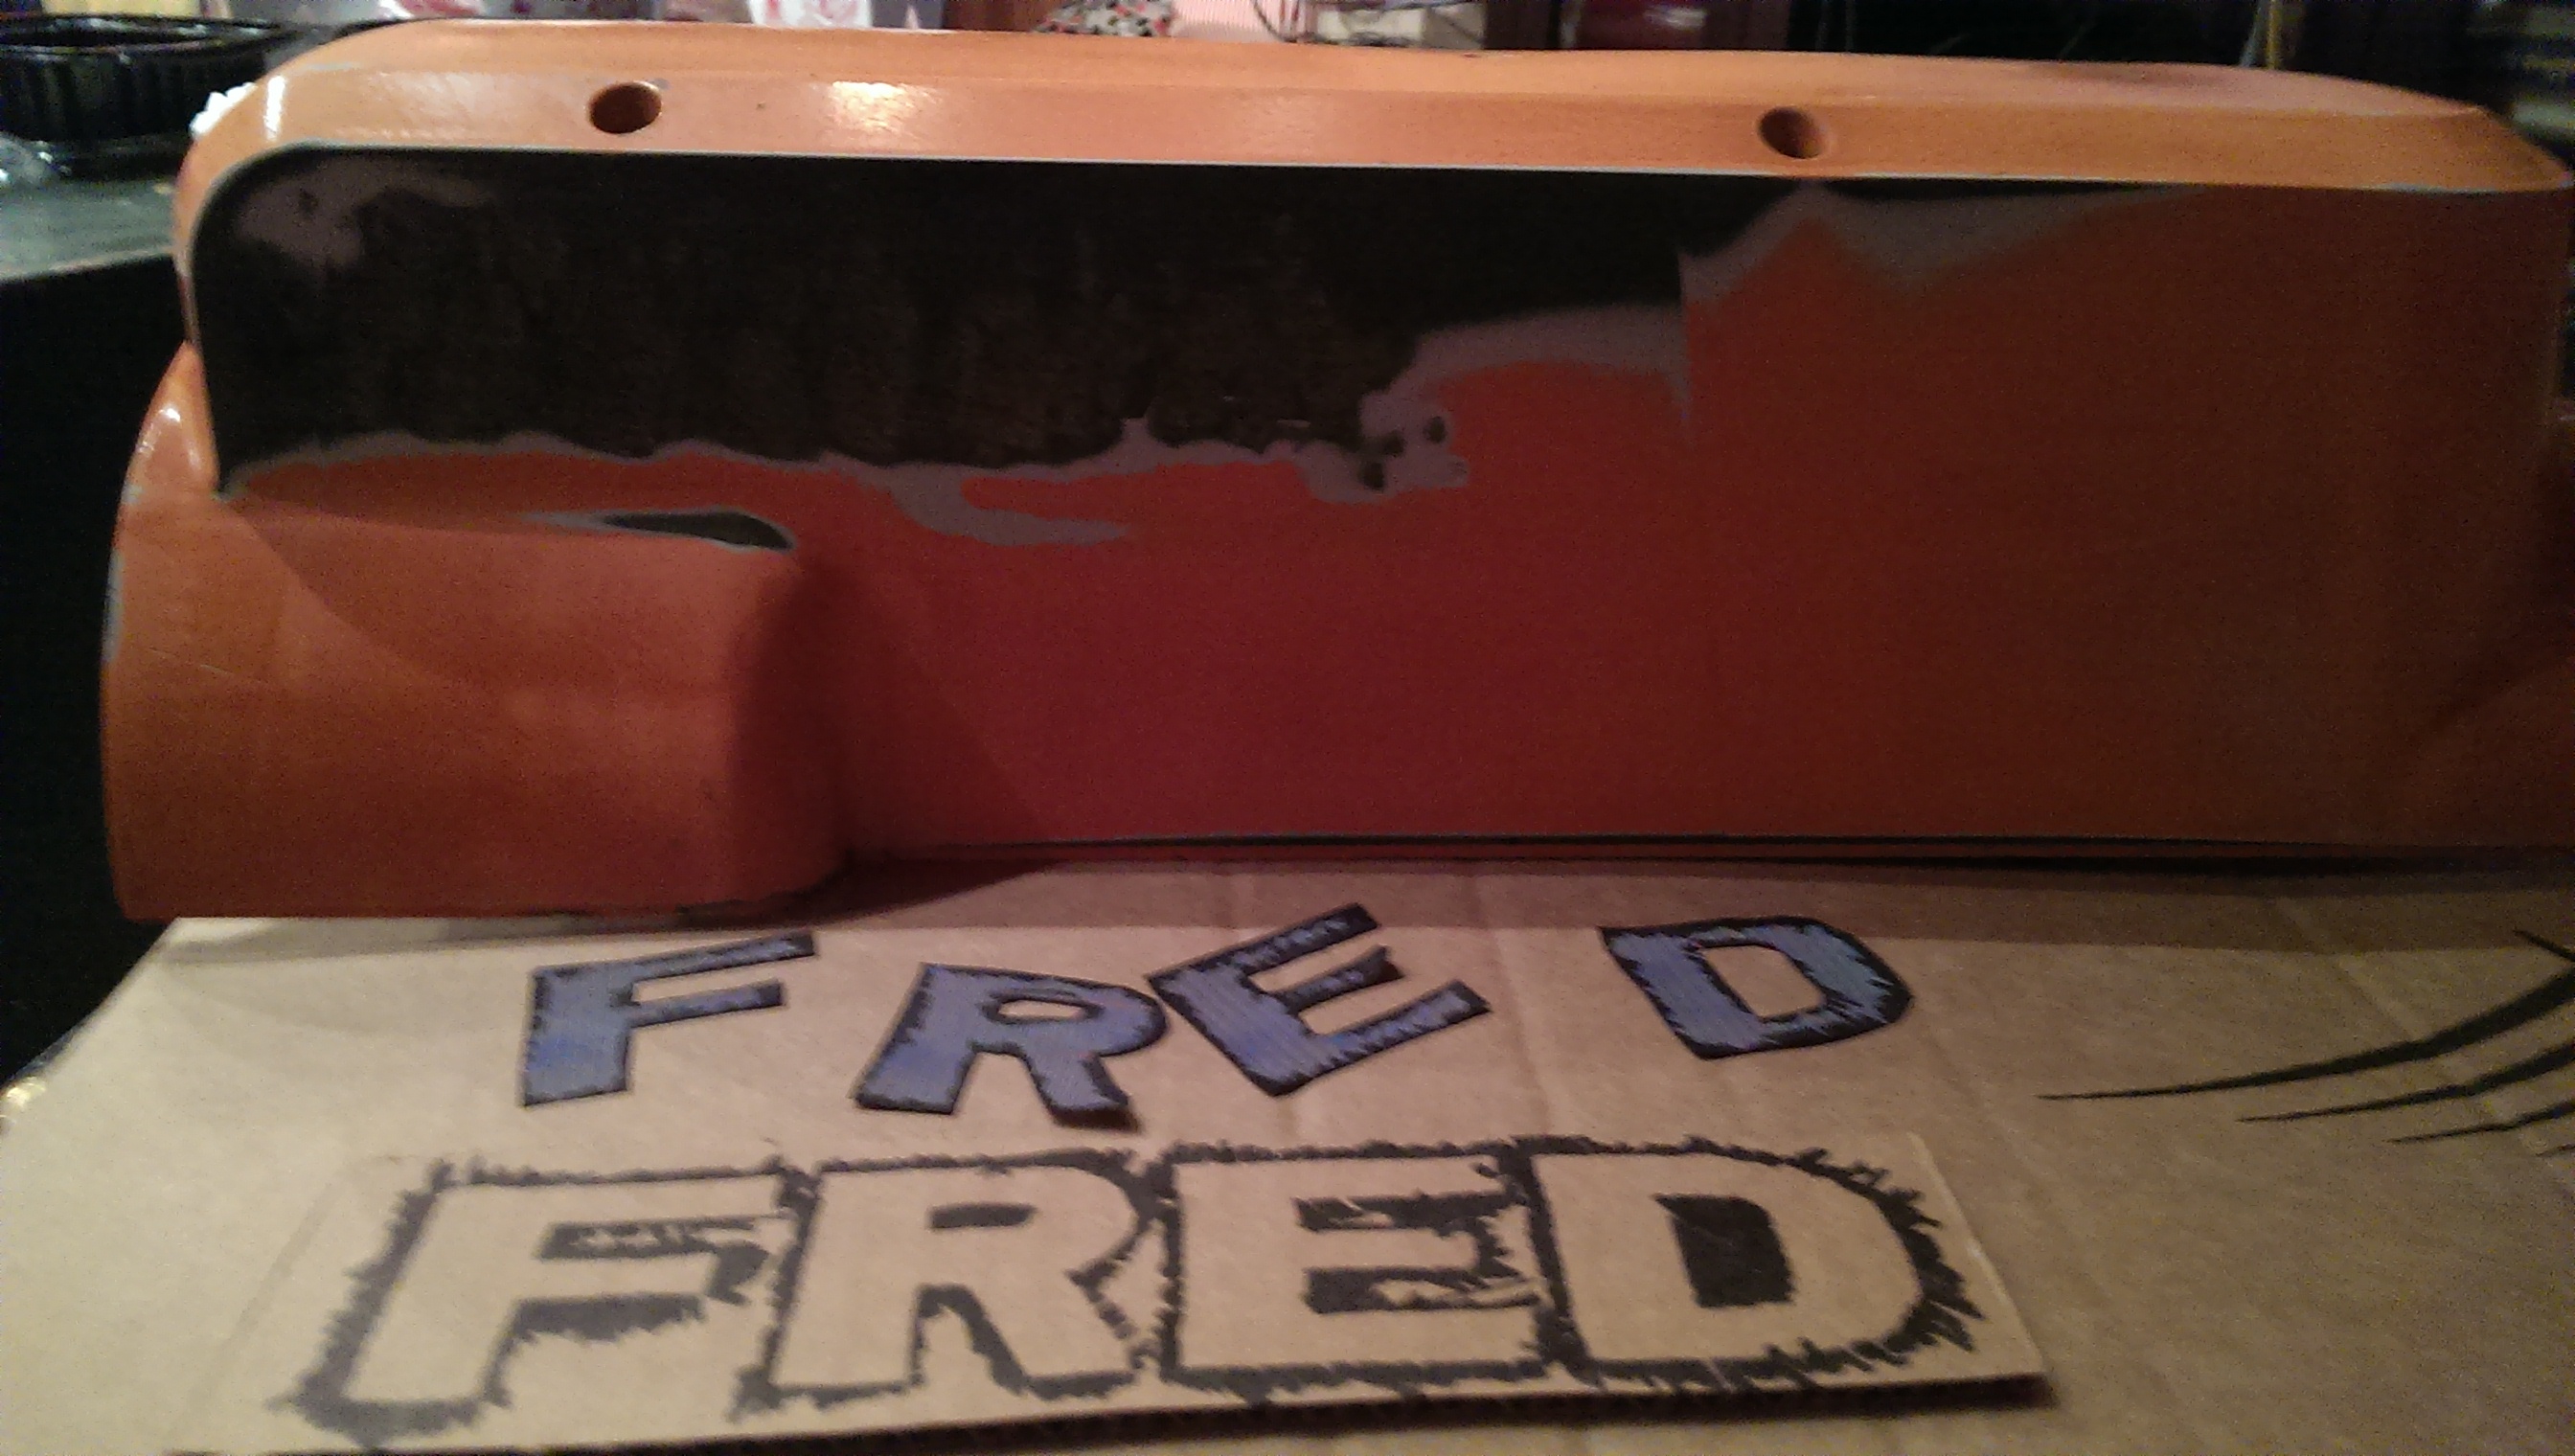
I thought I might be able to use cardboard as a mold coated in wax, but as it started to take shape I knew there wasn’t a chance.
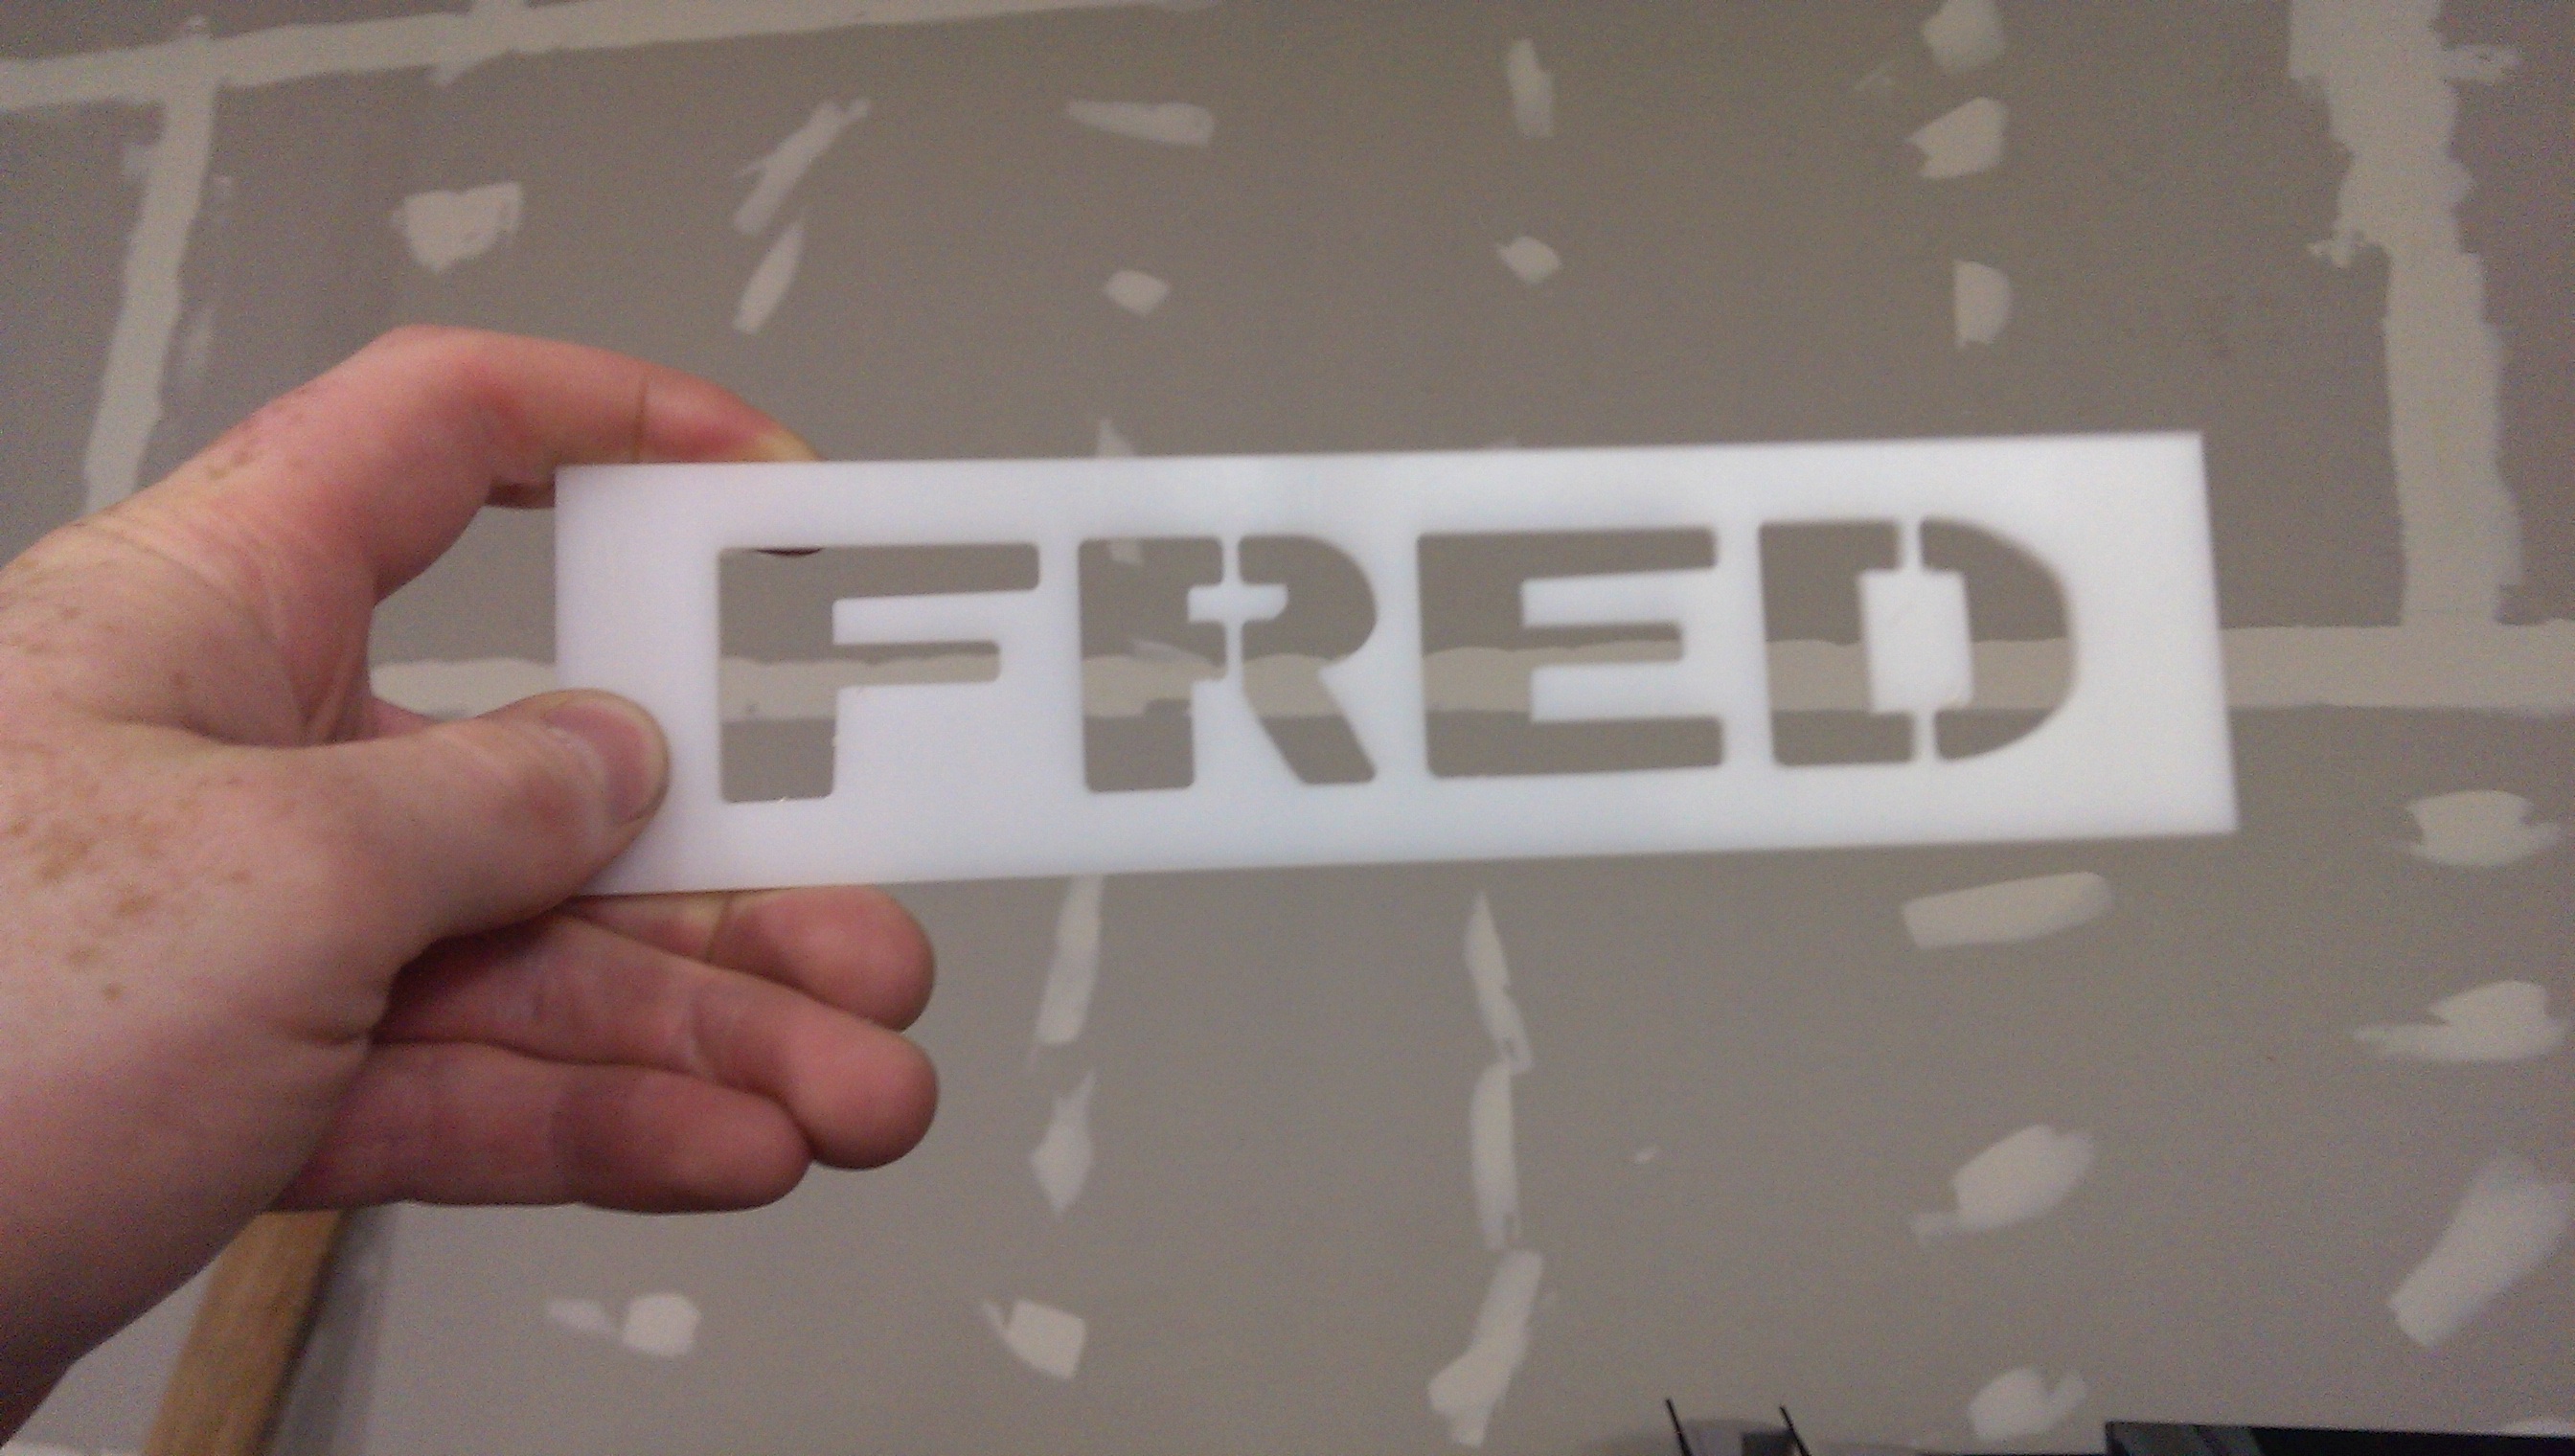
So I went to my helpful plastics place and asked them for a laser cut mold that was made out of a material that wouldn’t stick to Bondo. Turns out they know their plastics.
Then it was time to prime with an something that would etch the plastic slightly to allow the Bondo to bond’o.
Primed it was time to apply the base layer of Bondo to create an even surface for the lettering and to fill in any divots from the Dremel. I used a Bondo with long glass fibers for this step.
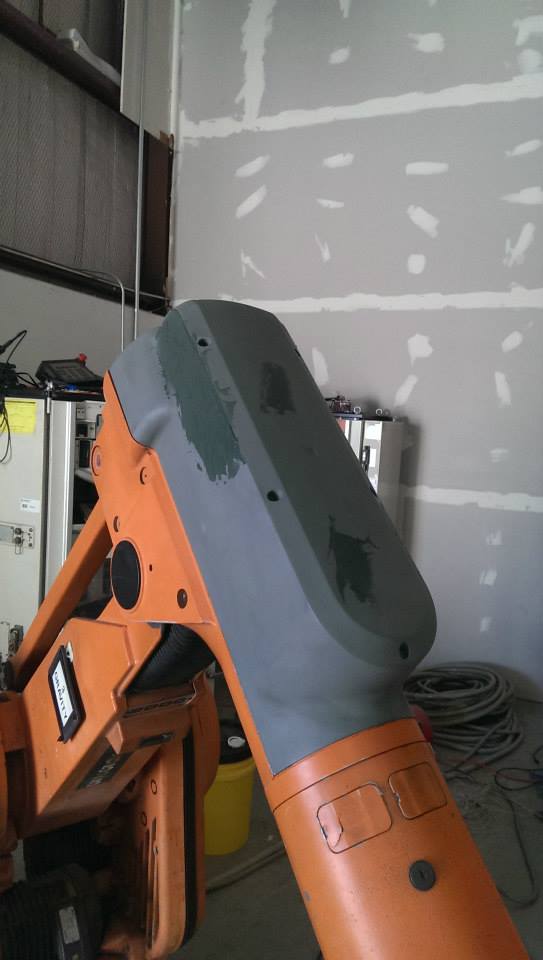
Once it was dry it was time to sand it smooth.

Once there was a smooth surface it was time to apply the mold!
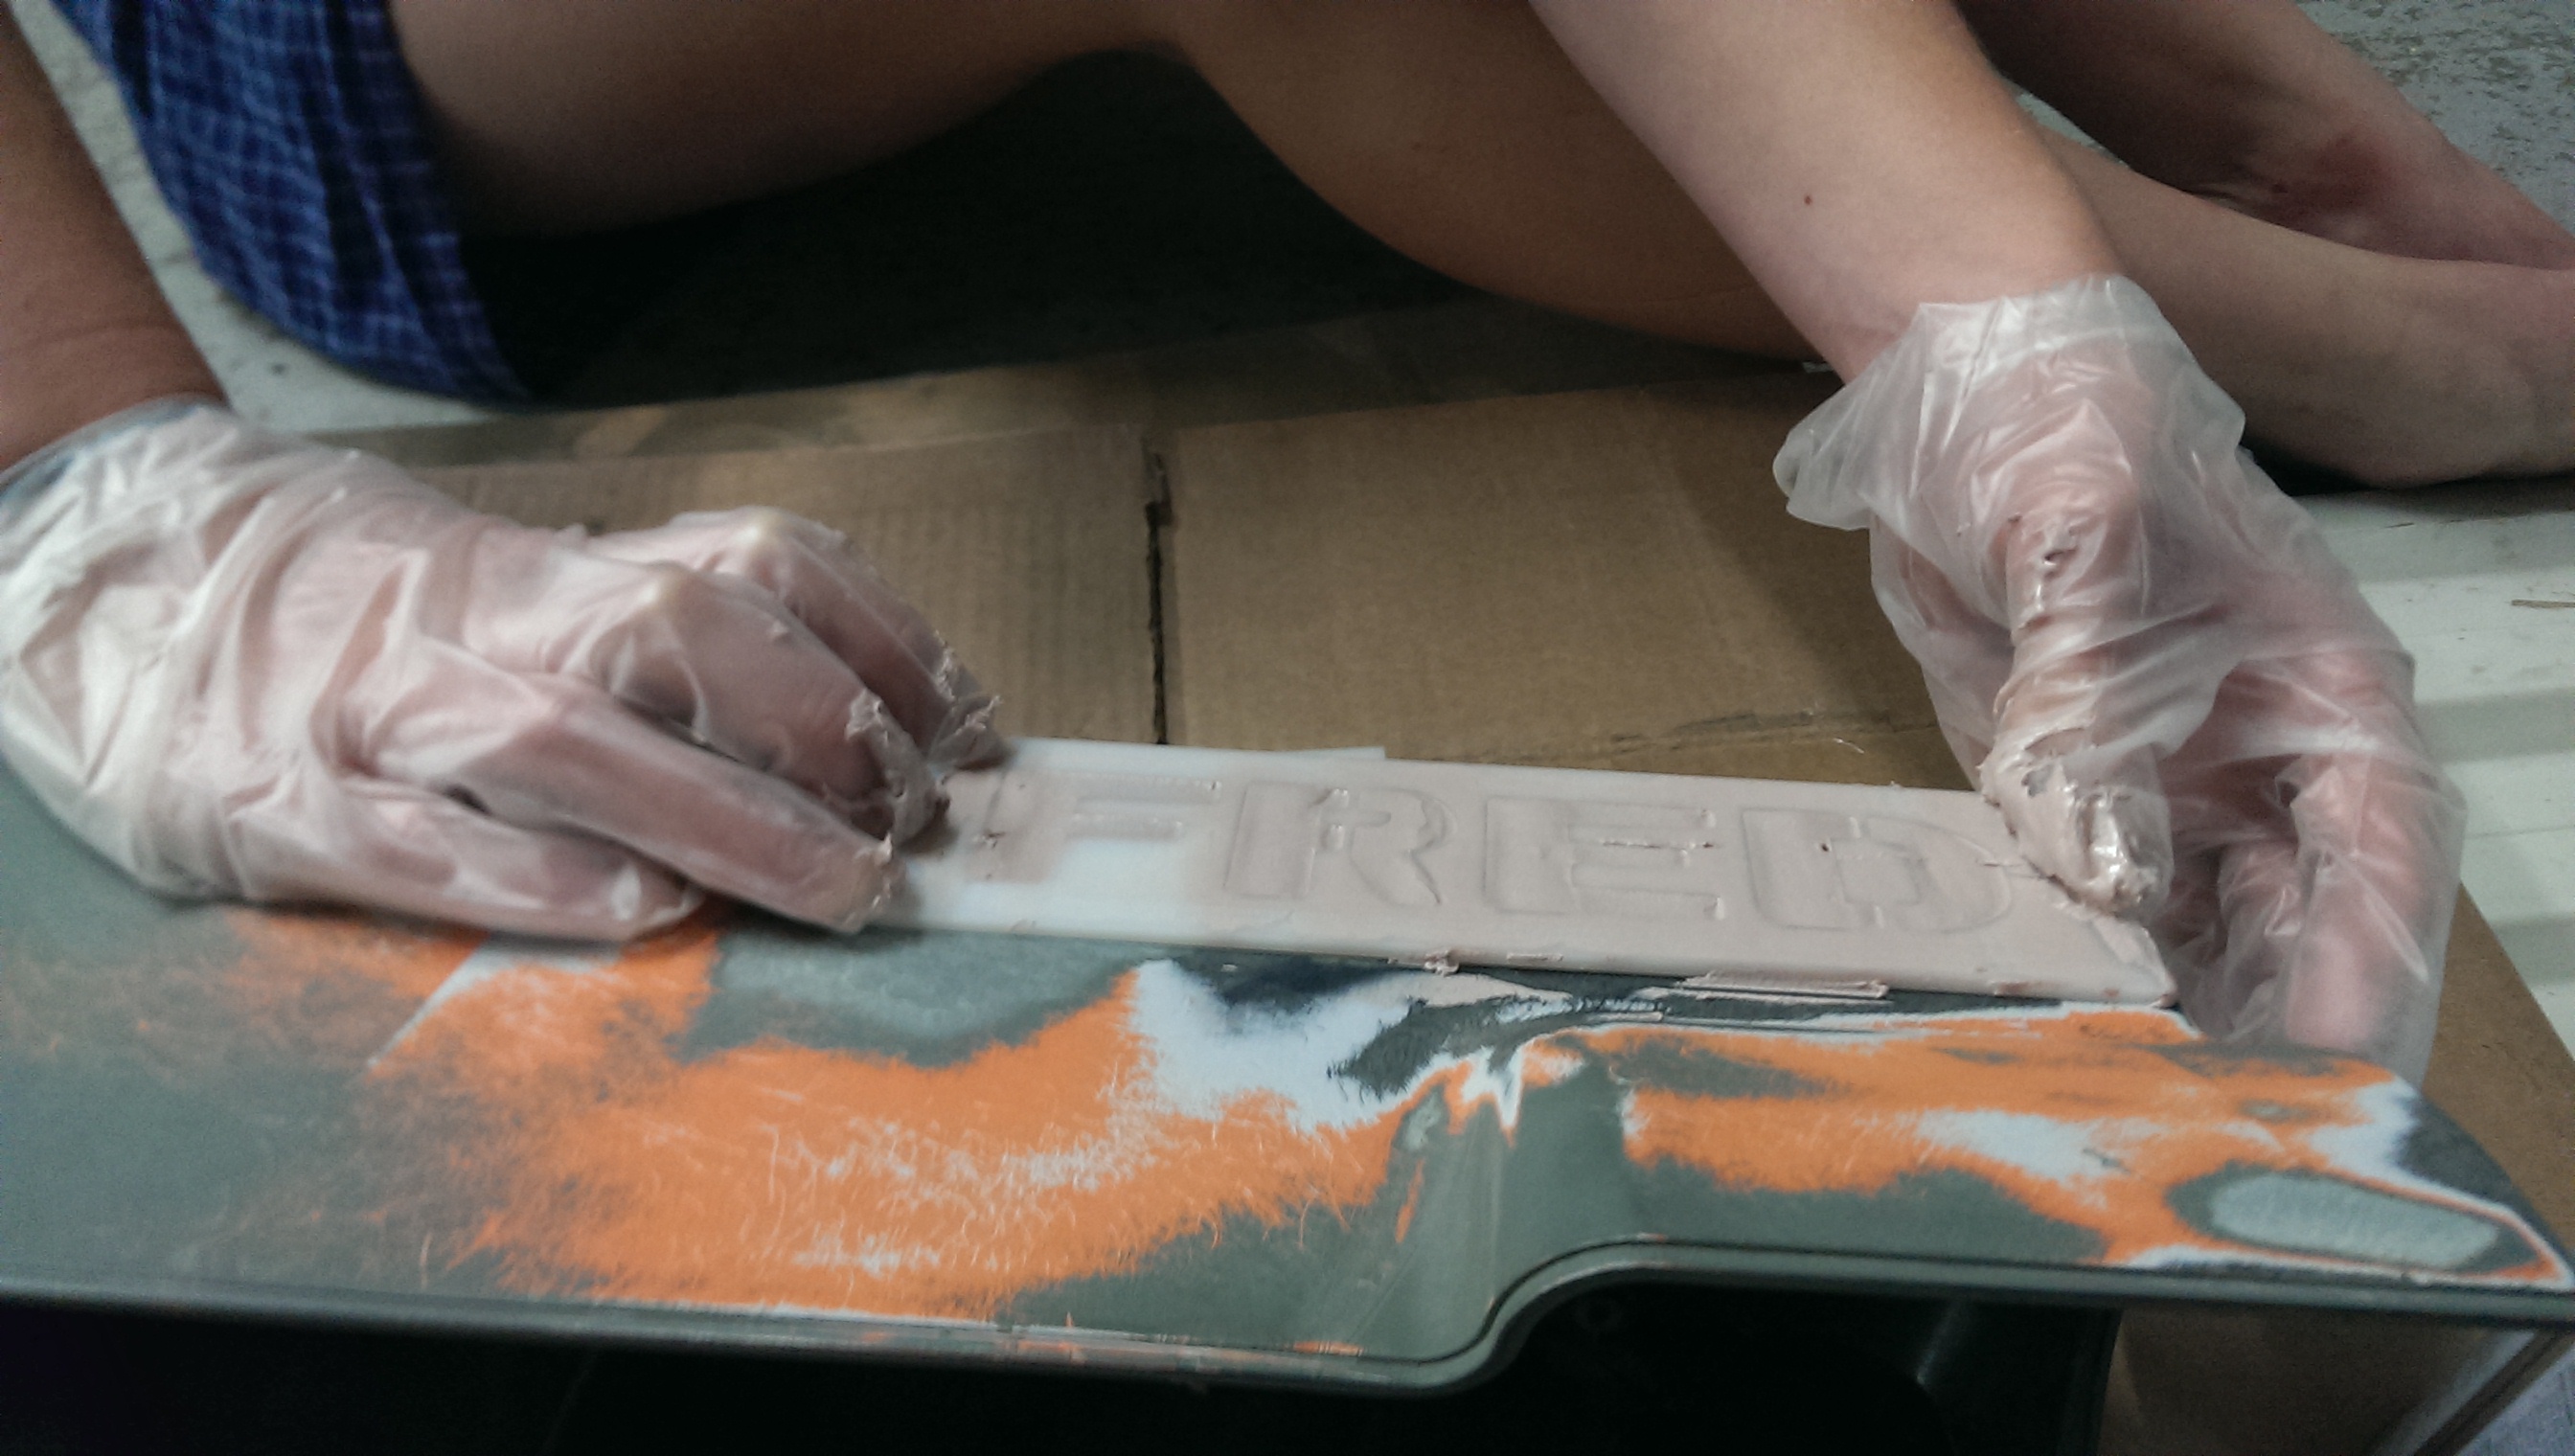
My ‘holy crap it worked’ face
Both Sides

Time to polish it up

Then prime

But then I thought, why should I paint my robot if my robot is build to paint?
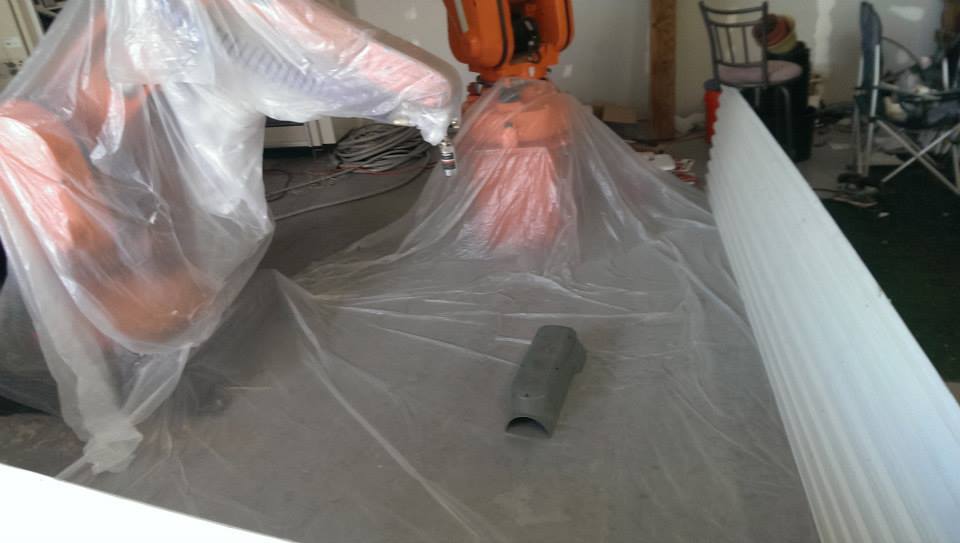
Hacker paint booth
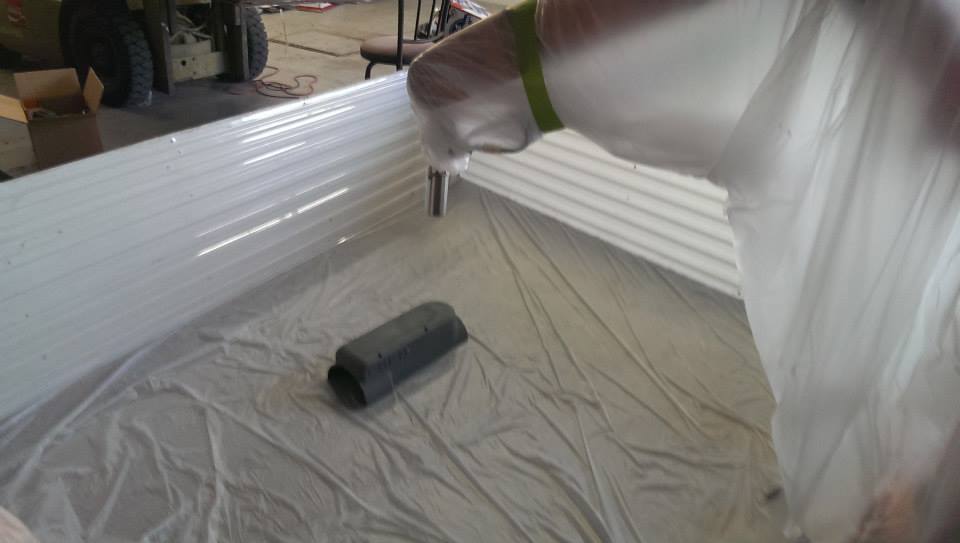
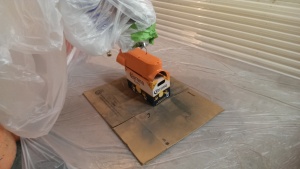
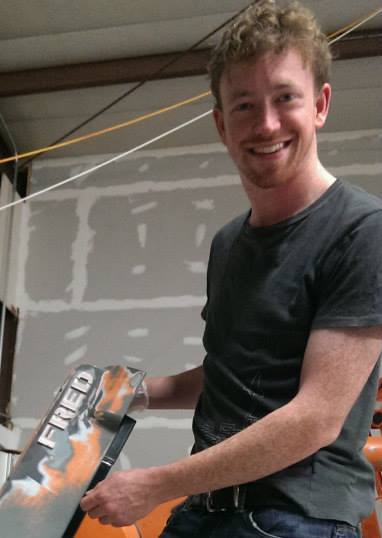
Painted! It was a fun experiment but ended up doing most of it by hand. If I needed to paint 11 thousand, I would have trained FRED a bit more, but since it was just the one, didn’t seem like a good use of time.
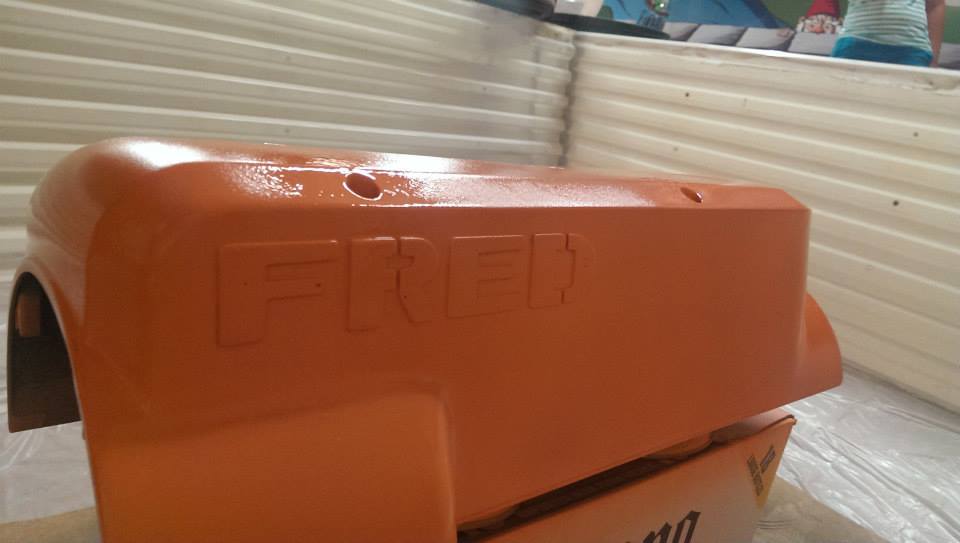
The Final Product